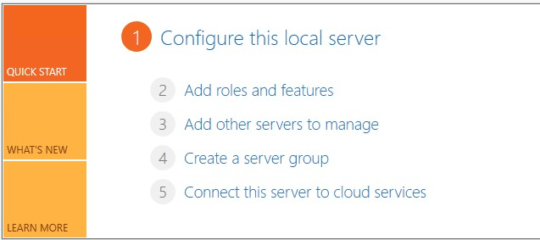
Open Server Manager
click on Dashboard
click on Add roles and features.
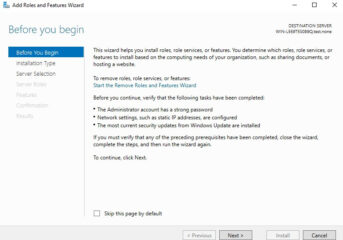
“Before you begin” go through it and
click “Next“.
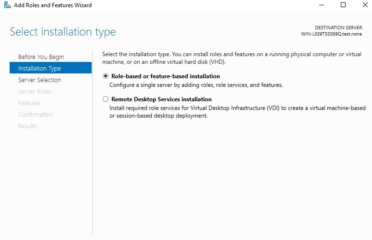
“Installation Type” tab choose Role-based or Feature-based installation and
click on the Next button
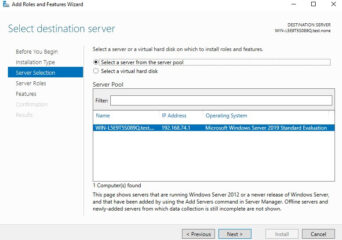
Server Selection tab, please select the destination server .
Click Next to continue.
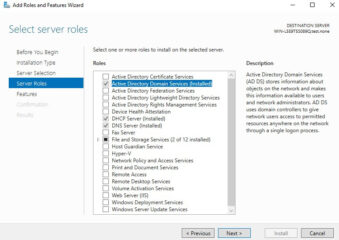
In the Server Roles tab, put a tickmark for
a. “Active Directory Domain Services”
b. “DNS Server”
c. click Next to continue and add features.
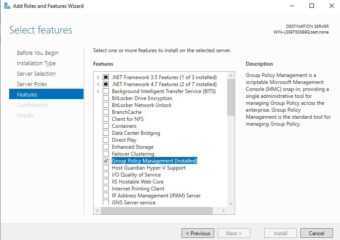
Features tab:
the basic features for this required role are already selected by default.
Click Next to
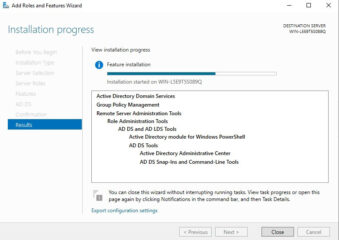
In the Confirmation tab, verify the selections and click on the Install button
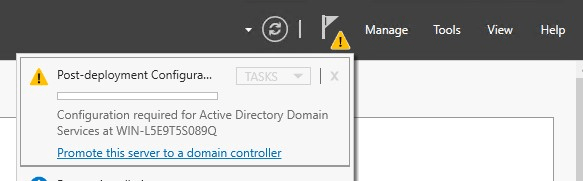
Click the yellow warning
and after click to “Promote this server to a Domain Controller”
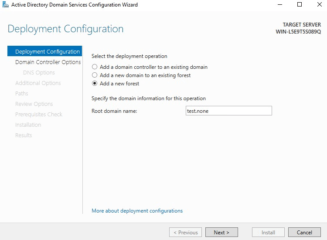
Deployment Configuration
click to “Add a new forest“
and Provide a “Root Domain name”
Domain Controller Option
a. select a Forest functional level
b. select a Domain functional level
c. select a password to restore Active Directory data
d. click Next

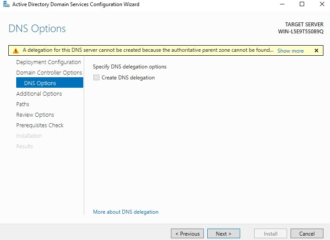
DNS Option
Ignore the DNS Delegation yellow warning
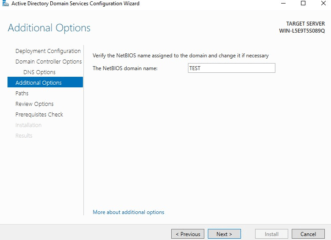
Additional Options
Enter a NetBIOS name for your domain
click Next to continue
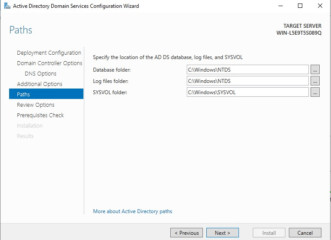
Paths
a. Mention the Database (You can change the default by your organization security policies)
Click Next
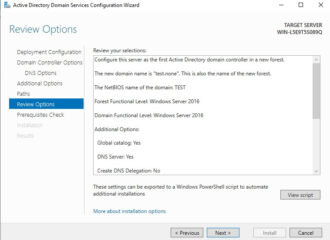
Review Options
Review the configuration, click Next
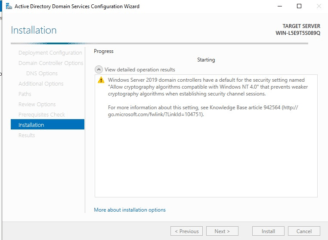
Installation
click on Install button to start the installation process